Free Estimate
PROFESSIONAL HARDWOOD FLOOR INSTALLATION


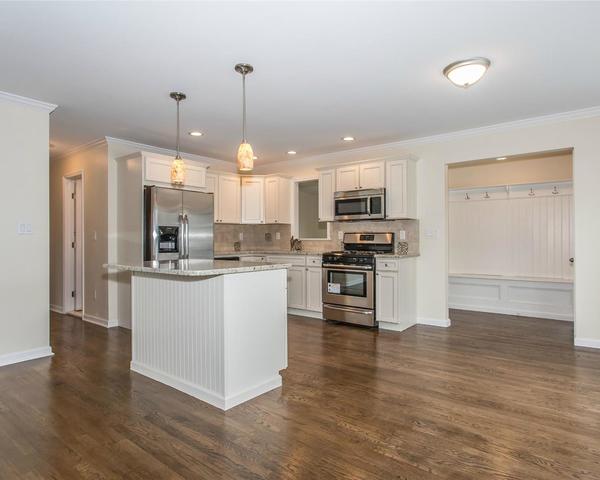
There are many benefits to having hardwood flooring in your home. It’s clean, easily maintained, beautiful, and it’s a naturally renewable source. There is a wide variety of hardwood floors to choose from, including exotic woods, domestic, and even new and interesting choices like engineered hardwood flooring.
No matter what you choose for your hardwood floors, our team of professionals can provide expert hardwood floor installation. We will precisely measure your area and calculate the total amount of flooring you need. Then we can provide you with all the help you want to select the right hardwood floors that match your style and personality.
You will have your chosen floors ready in no time and our experts will be there to offer great hardwood floor installation.
Your hardwood floors provide the last piece of the home renovation puzzle. Our amazing team of contractors understands exactly how to lay your floors with precision for a perfect hardwood floor installation. We will get the most out of your floors for a stunning look you will love.
The Installation Process, From Beginning To End
- The remaining rows are then cemented to the subfloor using premium wood flooring adhesive and face nailed once the flooring has been laid too near to the wall to utilize the cleat nailer.
- The subfloor is prepared, the drywall joint compound is scraped off, protruding nails and staples are removed, the subfloor is nailed or screwed off, and any imperfections are sanded flat.
- Starting rows are installed in line with starting lines using premium grade glue and face and blind nailing with a finish nail gun; this line serves as the literal beginning of a nice straight hardwood floor installation.
- To prevent a narrow strip, the control line is snapped and examined for any vertical obstacles or other visible objects, such as parallel bullnoses, thresholds, hearth frames, etc (sometimes still unavoidable)
- Transferring the starting lines to the wall or other location where the initial boards will be put
- The body of the floor is loosely racked out, with the end rows cut, being careful not to duplicate the aforementioned patterns.
- Along the starting area, straight boards are located and placed.
- Subfloor seams are overlaid with silicone-infused moisture retarder.
- Flooring bundles are stacked on top of the moisture barrier.
- Using a blind cleat nailer, loosely stacked boards are fastened tightly.
- Any carpeting or other hardwood floor installation is stripped
- Subfloor is properly vacuumed


